AWR REPORT
Los reportes de Automatic Workload Repository (AWR), son sin duda una de las mayores armas de las que disponemos para realizar “troubleshooting” en un ambiente de base de datos Oracle. El análisis de AWR, es una actividad habitual en la vida cotidiana de un DBA. Lo importante es poder interpretarlo.
¿Cómo generar el reporte?
El script a lanzar para generar el reporte se encuentra en nuestra ruta $ORACLE_HOME/rdbms/admin, para generar el reporte completo usaremos el awrrpt.sql

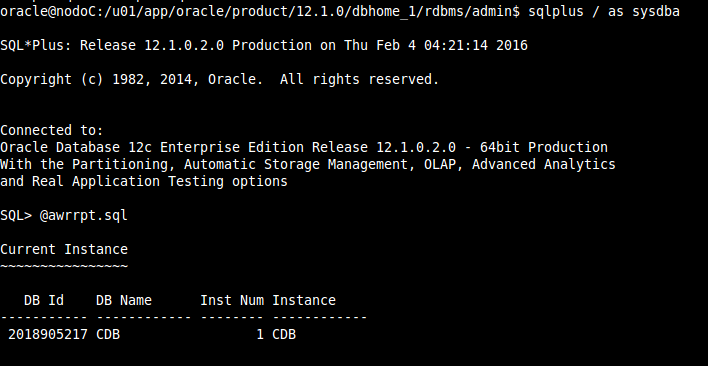
Lanzamos el script en una sesion de sqlplus / as sysdba y nos mostrará de que base de datos estamos generando el reporte.
Posteriormente ingresamos el formato deseado, yo elijo html para poder abrirlo en un navegador y verlo a manera de tablas bien acomodado todo.
~~~~~~~~~~~~~~~~~~~~~~~
AWR reports can be generated in the following formats. Please enter the
name of the format at the prompt. Default value is 'html'.
'html' HTML format (default)
'text' Text format
'active-html' Includes Performance Hub active report
Enter value for report_type: html
Type Specified: html
Instances in this Workload Repository schema
~~~~~~~~~~~~~~~~~~~~~~~~~~~~~~~~~~~~~~~~~~~~
DB Id Inst Num DB Name Instance Host
------------ -------- ------------ ------------ ------------
* 2018905217 1 CDB CDB nodoC
Using 2018905217 for database Id
Using 1 for instance number
Luego ingresaremos el número de día deseado del reporte, es decir de hace cuantos días se busca la información:
Specify the number of days of snapshots to choose from
~~~~~~~~~~~~~~~~~~~~~~~~~~~~~~~~~~~~~~~~~~~~~~~~~~~~~~
Entering the number of days (n) will result in the most recent
(n) days of snapshots being listed. Pressing <return> without
specifying a number lists all completed snapshots.
Enter value for num_days: 2
Listing the last 2 days of Completed Snapshots
Snap
Instance DB Name Snap Id Snap Started Level
------------ ------------ --------- ------------------ -----
CDB CDB 25 03 Feb 2016 03:26 1
26 03 Feb 2016 04:00 1
27 03 Feb 2016 05:01 1
28 03 Feb 2016 06:00 1
29 03 Feb 2016 07:00 1
30 03 Feb 2016 08:00 1
31 03 Feb 2016 09:00 1
32 03 Feb 2016 10:00 1
33 04 Feb 2016 03:03 1
34 04 Feb 2016 04:00 1
Especificamos el ID de inicio y el ID de fin según los tiempos requeridos y le ponemos un nombre y una ruta al archivo antes de generarlo para que no se nos pierda.
Specify the Begin and End Snapshot Ids
~~~~~~~~~~~~~~~~~~~~~~~~~~~~~~~~~~~~~~
Enter value for begin_snap: 25
Begin Snapshot Id specified: 25
Enter value for end_snap: 31
End Snapshot Id specified: 31
Specify the Report Name
~~~~~~~~~~~~~~~~~~~~~~~
The default report file name is awrrpt_1_25_31.html. To use this name,
press <return> to continue, otherwise enter an alternative.
Enter value for report_name: /tmp/awr_aury.html
Nos salimos de nuestra sesión de sqlplus con un exit.
Nos vamos a la ruta /tmp y veremos que el archivo se encuentra generado.
Listo!! lo podemos abrir en un navegador para consultar el reporte!